Site-Specific Assessments
Note
This video relates to both the TM2 and TM3 versions of the desktop software.
TM2 Touch Admin allows the user to add site-specific assessments for use through the TM2 Touch application.
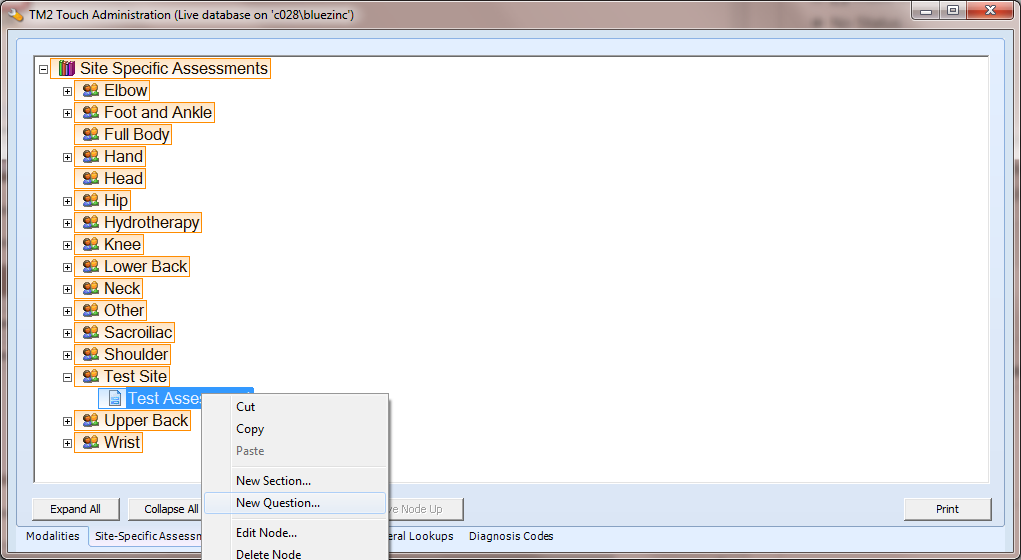
Go to Tools > TM2 Touch Admin and then click on the Site-Specific Assessments tab at the bottom of the screen. You will be presented with a list of body sites that are available within TM2 Touch.
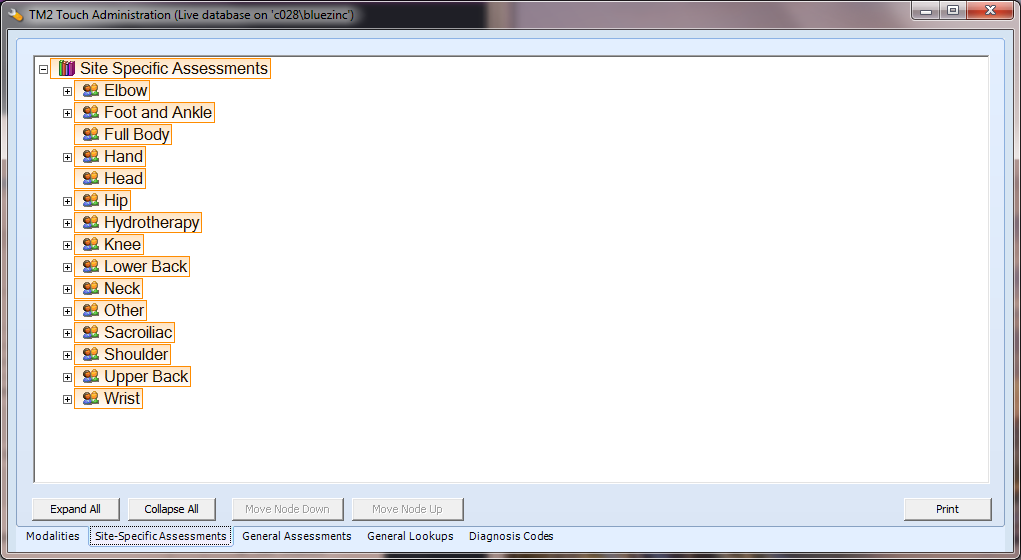
If you are missing a specific body site, these can be added using Touch Admin via the general lookups tab. (This is discussed below)
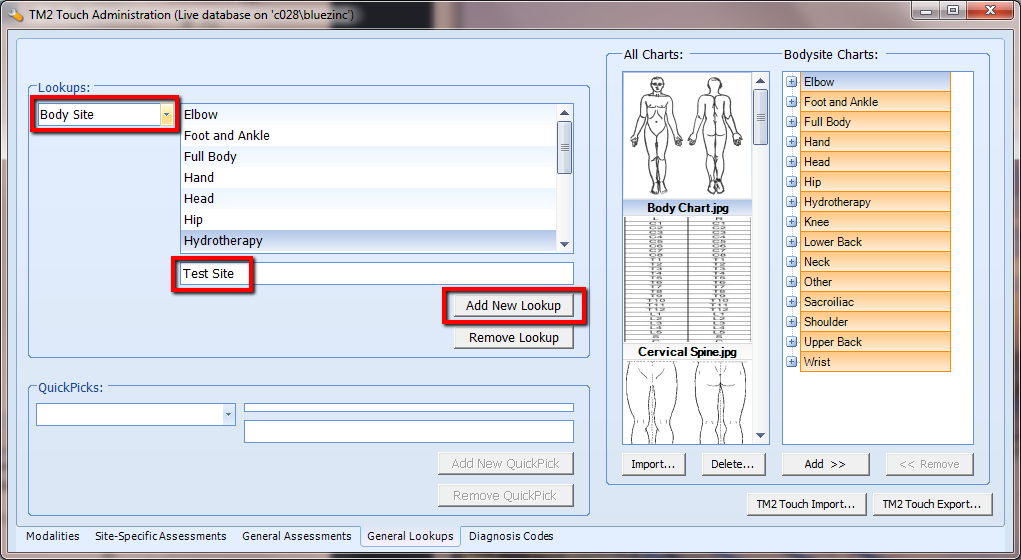
Click on the General Lookups tab.
On the Lookups dropdown, choose a Body Site and type in the Body Site name you wish to create. Once this has been typed, press the Add New Lookup button.
If you now go back to the Site-Specific Assessments page, you will see the newly added Body Site.
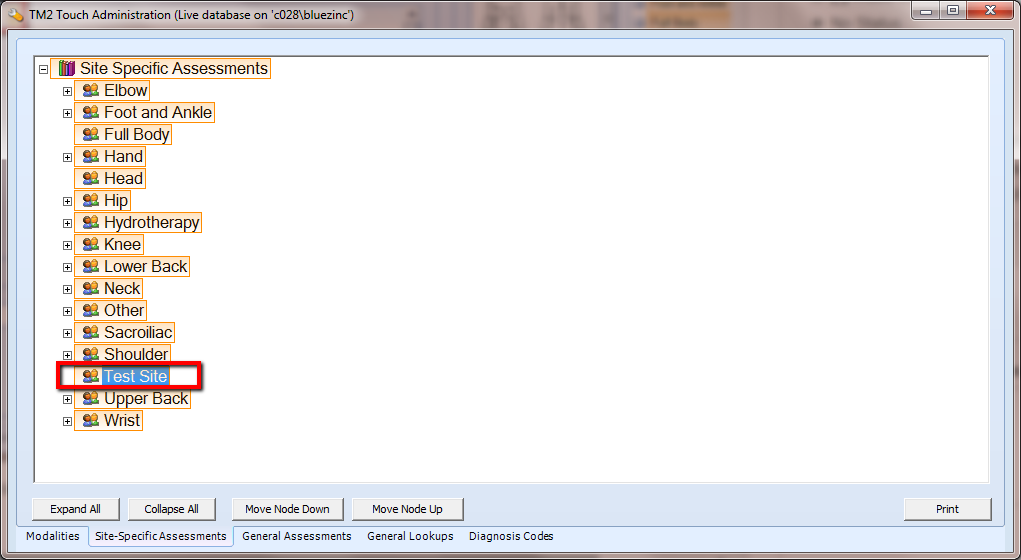
You are now able to add an assessment to the new Body Site.
New Assessment
Right-Click on the body site and choose the New Assessment option.
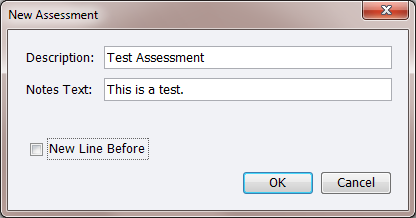
Description - This will be the heading title for the Site-Specific Assessment.
Notes Text - This will display information in the notes section of Touch before the questions to the modalities start.
New Line Before - This will format the notes section of the modalities, taking a new line after the previous question.
This will then create a new assessment that you can add questions to.
Adding a question
Right-Click on the Assessment name and choose the New Question option.
New Question
As you can see from the screenshot below you are able to add different types of questions:
- Lookup - This will allow you to create a question that will have pre-defined answers that can be selected. To create an answer for your lookup, right click on the lookup > New Answer > Enter Value & Descriptions > OK.
- Yes/No - This will allow you to create a question with just a yes or no answer.
- Text - This will allow you to create a question that will include a text field to enter information into.
- Symbols - This will allow you to create a question that will include a text field that will accept symbols.
- Number - This will allow you to create a question that will include a number pad to allow a numeric value to be chosen.
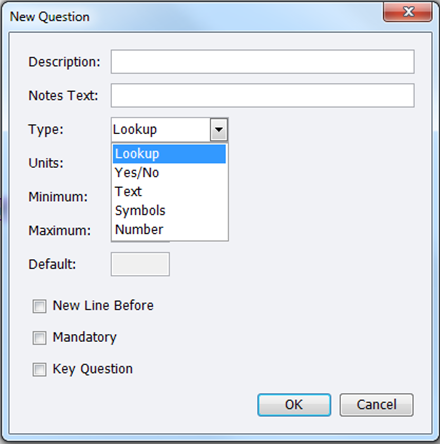
Once you have chosen your type of question, you then fill in the different text boxes. These are explained below:
Description - This will be the heading title for the question within the Site-Specific Assessment.
Notes Text - This will display information in the notes section of Touch before the chosen answer to the question.
Type - This will give you a drop-down list of question types in order to format the question. You have the option to choose from Lookup, Yes / No, Text, Symbols, and Number.
Units - This allows you to set the unit formatting for the answer to the question.
Minimum - This sets the minimum amount that the value can be set to.
Maximum - This sets the maximum amount that the value can be set to.
Default - Sets a default value for the question.
New Line Before - This will format the notes section of the modalities, taking a new line after the previous question.
Mandatory - This sets whether the question is mandatory or not.
Key Question - You can check this if you would be interested in running reports on it.
New Section
This allows the user to create a new section within the Site-Specific Assessment. This can be used to split the questions within the Site-Specific Assessment into different sections.
You will be asked for the following information.
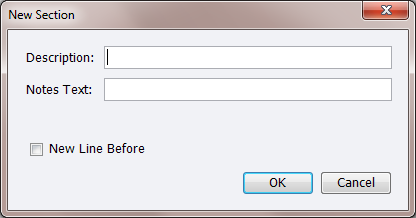
Description - This can be set to a description of the section break; however, this can be left blank.
Notes Text - This will display information in the notes section of Touch before the chosen answer to the question.
New Line Before - This will format the notes section of the modalities, taking a new line after the previous question.