Creating the Group / Business
![]()
Note
This article relates to both the TM2 and TM3 versions of the desktop software.
In order for the bookings made via the Pronto Network to be accurate in TM2/TM3, they need to be assigned to a Group. This will keep BUPA bookings separate from PhysioMed and Physio First and so on.
It's possible that there will already be a Group / Business created for the desired referrer and in which case you can just link the two entities together.
You can check which Referrers you are enabled to receive bookings from via the Pronto Admin area. This section is found under the Admin area (on the left of TM2/TM3) and then select the Pronto area. Once opened you will see a Referrers section listing the Referrers you are enabled for. Click on this area to make adjustments.
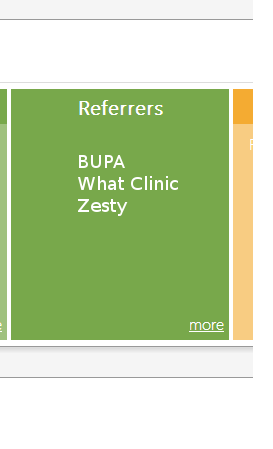
The above example shows that the clinic is enabled for referrals from BUPA, What Clinic, and Zesty. Clicking on this area (green) will load the specific details you will see a screen similar to that below;
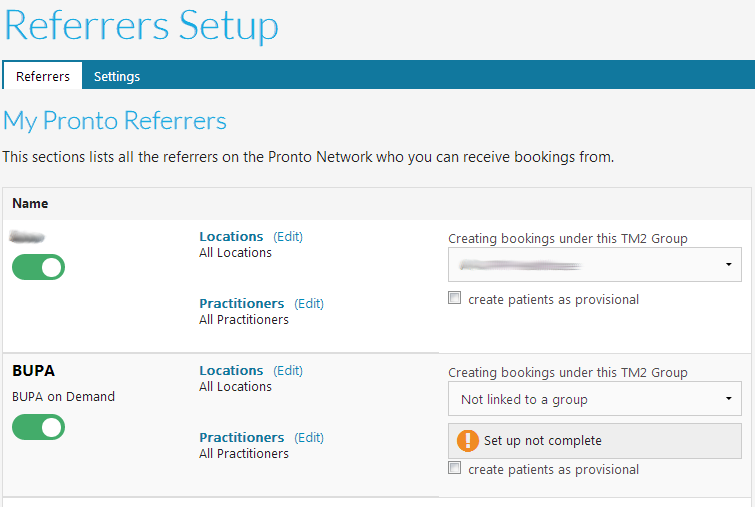
As you can see the BUPA Referrer referrer needs attention.
You may select the desired Group from the drop-down menu which reads "Not linked to a group" and pick from the existing entries in TM2/TM3. In this case, you may skip the next section, if the Group / Business does not exist then it needs to be created.
Creating the Group
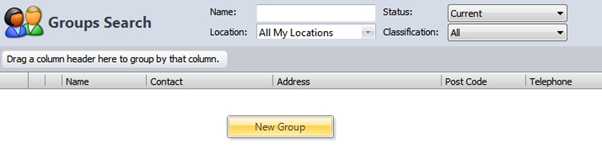
To create a new Group / Business in TM3 or TM2;
- Click on Main – Groups (Or Businesses)
- Right-Click on the group screen - Create New Group (Or Businesses)
- Enter a Group Name
- You may also enter additional details such as the main contact, address and contact details
You may complete as much (or as little) of the contact information as you wish. It will not have any impact on the booking, however, having the information here may be useful at a later stage;
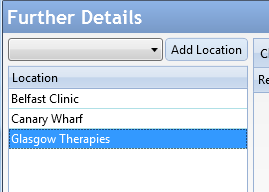
The next stage is to set the appropriate changes for each location. You may add additional locations on the left via the Add Location button.

Repeat this for each location you would like bookings to be received into.
You then need to select the appropriate changes for these appointments. As these are self-funding appointments it's very likely they already exist in the database, it should just be a matter of selecting the correct item(s).
Use the Add Charge(s) button and select the desired Initial appointment, repeat this and select the follow-up. You will need to then adjust the First and Follow Up radio buttons to indicate the appointment classification. See below for an example;
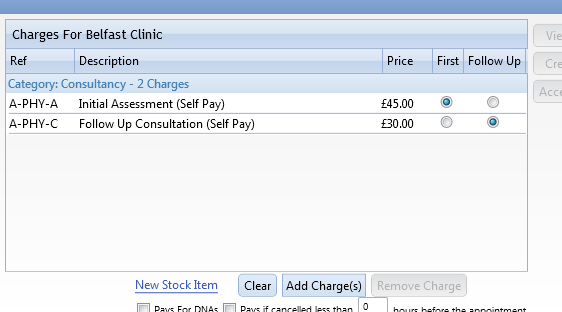
This needs to be repeated for EACH location you had previously marked for bookings. Move between each location by clicking its name on the left side of the form.
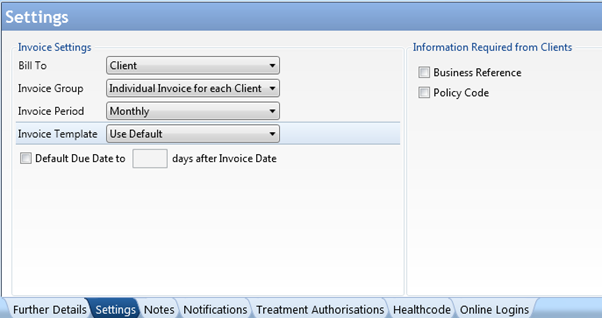
The final changes need to be applied to the Settings tab found along the bottom of this form. Your setting here will likely adjust as per the referrer. For specific information on a referrer see the tailored setup documents.
Info
Remember to press Update (top right) to save the changes.
Once created you can return to the Pronto area and link the Group as outlined previously.
Setup Complete
Once this has been completed/checked you may let the Pronto Team know and we can transfer this information into Pronto. It can be done via the software if you prefer, this process is detailed below in the Services section.