Location Overview
Note
This article relates to both the TM2 and TM3 versions of the desktop software.
The Location section under Practice allows users to set up multiple locations for their practice. From here practitioners, stock items and classes can then be linked to each location.
To Add a location, right-click anywhere on the white space and choose New Location. Users can Edit locations by right-clicking on a location and choosing Edit Location.
When New Location is added the following window appears.

From here users can add the appropriate details for this location. The fields that are coloured yellow are compulsory fields. These must be filled out whenever creating a location. The other fields can be added at another time. Most of these fields are self-explanatory so we do not need to go into too much detail on them.
The icon beside County

allows users to copy the address to the clipboard.
The icon beside Post Code allows users to view the location of the postcode using Bing/Google Maps.
The Region dropdown has two options to start with but more regions can be added in Tools > TM2 Options > Lookups & Labels > Locations Regions.
The Email field is quite important. Communications sent out from TM2 will be sent from this email address; if TM2 is set up to send emails from the location. This can be changed in the Tools > TM2 Options > Advanced Settings.
The Status field has three options Live, Read Only & Hidden. The Status of a location works in much the same way as the status in other sections of TM2. Instead of being current or non-current it is one of the other three options. Live is for an active location within your practice and Read Only is for inactive locations. When Hidden is selected the message below appears.

The Charges & Services tab is where the cancellation and DNA charges are set. These charges must be created in the Stock section of TM2. Users can then enter information about the services they provide - these show on the online portal?
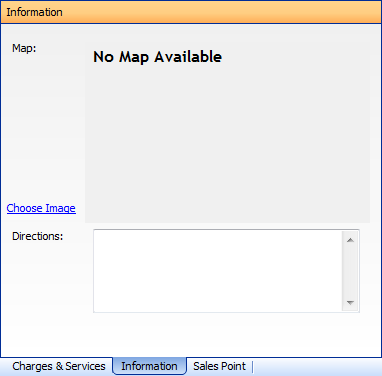
The Information tab allows users to add information about the chosen location. The Map section is linked to the Choose Image button. When you add an image to this it will appear as the map. The Directions section allows users to add directions to their clinic. These are linked to the Online TM2.
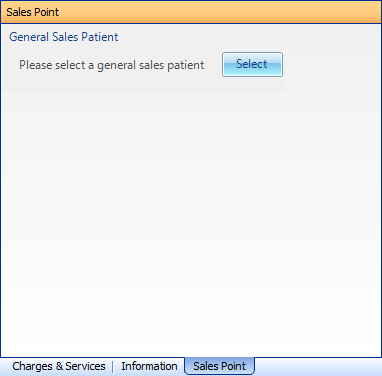
The Sales Point tab allows users to set up a General Sales Patient. This is used when someone who is not registered with a location or practice buys a physical stock item. This would link the stock item with a patient. This patient should be set up beforehand and is selected here.
The next part to the Location section is how to sort locations. Users can sort locations in different ways. One of which is to Drag a column header to the grey area to sort the records. Column headers are such things as Name, Address etc.

Using this method a user can add more than one search parameter. The example above is sorting the expenses by Name. This will group the location by name of the clinic. To remove this search drag and drop the selections anywhere below the grey space.
Another way of sorting the Location is by clicking on the column header. This will sort the Location into ascending order on the first click and descending order on the next click. Using this method you can only sort one column at a time, where in the first one you could sort multiple columns. A user can tell what column(s) are being sorted by the arrow on the column header. When it is an up arrow it is sorted in ascending order and down signifies a descending order sort.