Pronto Portal - Ensuring Availability
![]()
Note
This article relates to both the TM2 and TM3 versions of the desktop software.
In order to receive referrals via Pronto Portal, you have to offer availability. This is done via the "Diary" tab at the top of the screen. If you have no availability then there will be no bookings placed.
In a normal (client calls the clinic) scenario this wouldn't be necessarily a bad thing as you can quickly offer another appointment however via Pronto most parties implement the availability returns into the ranking. This means that a clinic with no available appointments may now show as close to the top of the page or not at all. An easy comparison would be how many people look on the second page of Google? Less than 10% of people advance to Page 2 if the result cannot be found most will amend their search. We find the same applies to Pronto Bookings, when a client wants a 9am appointment, they are more willing to adjust their search (location) to find the 9am slot.
This does not apply to all referral sources but is a good rule of thumb.
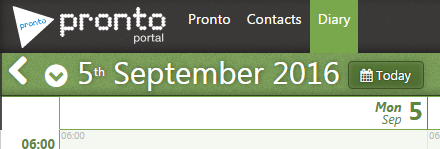
Fig 1 "Diary" tab
To set the availability, select the "Diary" tab. There are a few ways this can be done depending on how you wish to use the Pronto Portal Diary. It will likely look like the example below;
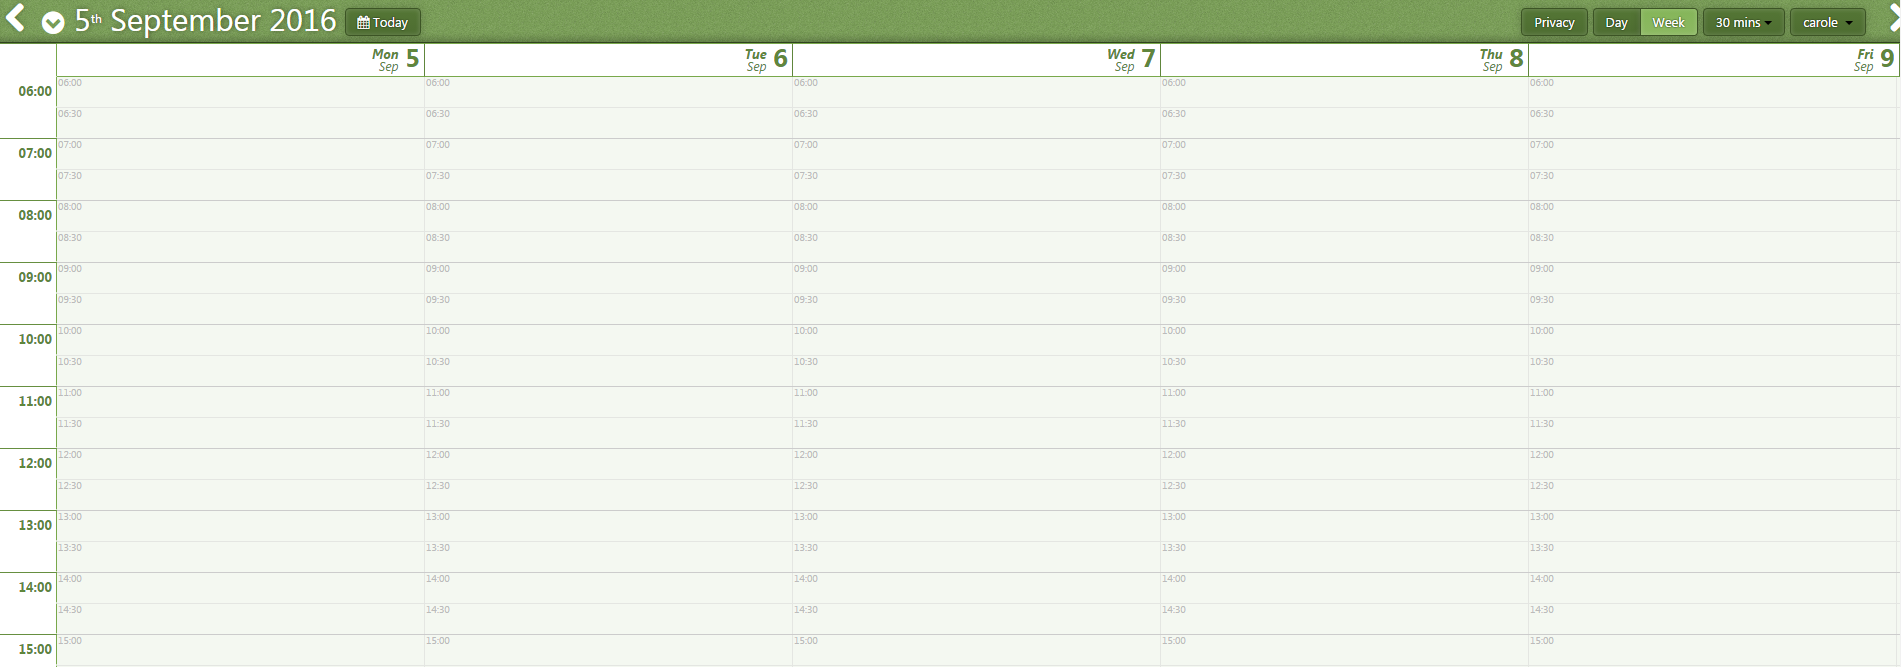
Fig 2 Diary screen
To Show Weekends (Saturday and Sunday) select the settings cog in the top right of the Diary and select the desired option.
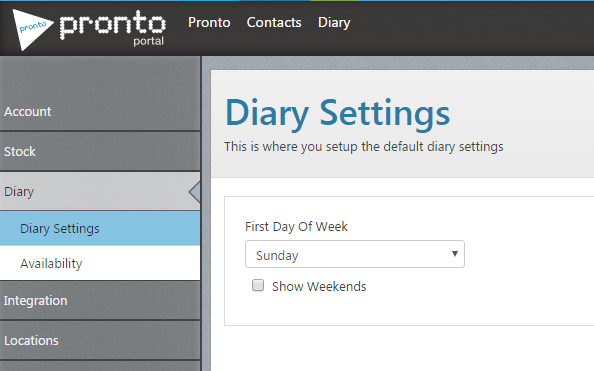
Fig 3 - Show Weekends
As mentioned there are a few ways in which you will likely use the Diary, these have been split below;
Method One - Full use of the Diary
This method involves uploading ALL of your working hours and managing the Diary as slots become used / free again. You could set 7am to 11am working hours, add in blocks for breaks, lunches and other appointments. This means perhaps managing a second diary but offers the maximum and dynamic availability.
To add new availability simply open the Diary and ensure you have selected the correct Practitioner;

Fig 4 - Diary selection
Once on the correct Practitioner to add availability simply click the mouse at the beginning of this session and while holding it down drag the cursor to the end. See below for an example;
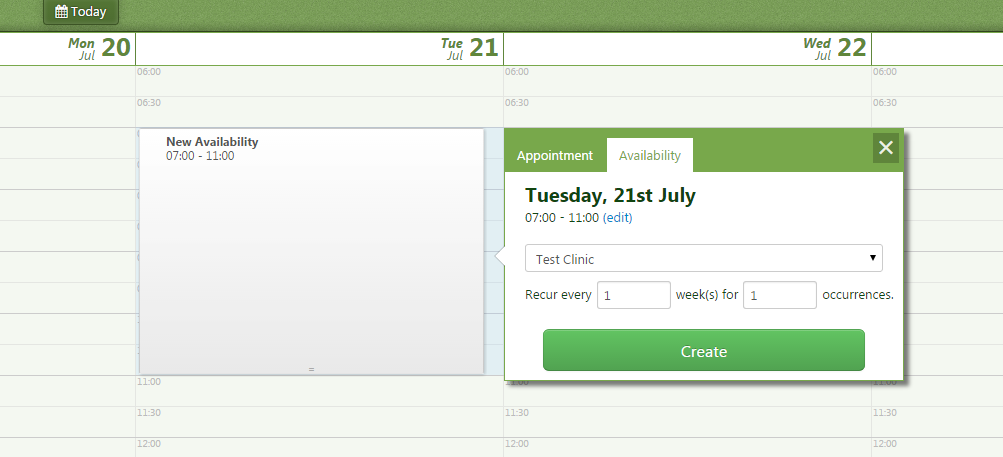
Fig 5 - Adding availability
Here the Availability is being set as 7am until 11am for one Tuesday at the Test Clinic Location. You can adjust as needed, setting the occurrences allows you to set for how long the session should run. You will need to build the availability around breaks, so you may wish to allow for a lunch break, see below for that example;
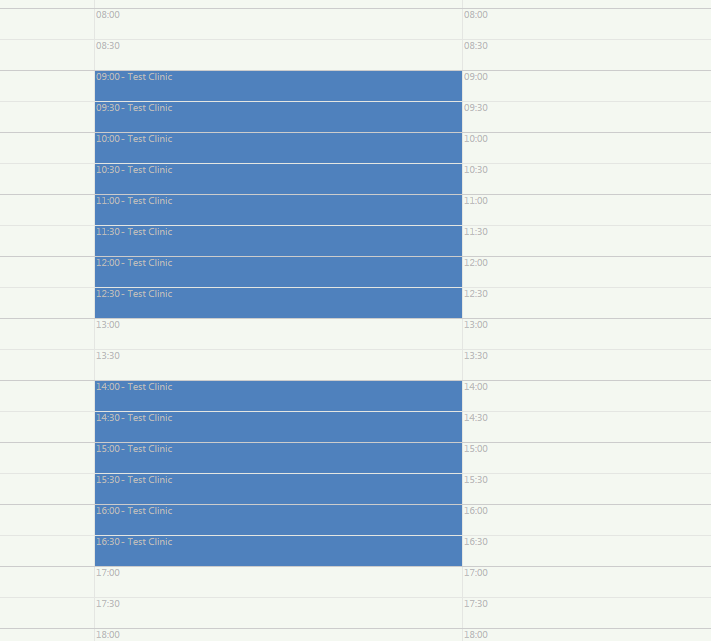
Fig 6 - Break in availability
You can also achieve the same result as below;
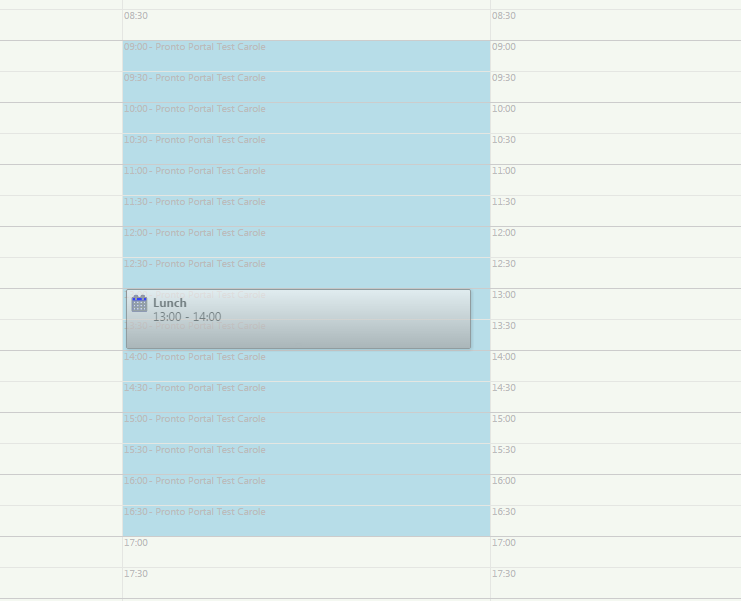
Fig 7 - Lunch event.
Both methods will work exactly the same, it comes down to how you wish to use the system.
You would repeat the "Lunch" events as appointment slots are used during the day. Adding an appointment for Joe Bloggs at 9am would remove the 9am slot from Pronto. Repeat this as and when appointments are booked in, this is important so that two people don't appear for the same appointment.
Method Two - Dedicated time for Pronto Bookings
This option is much easier to implement however it drastically reduces the time you can make available for bookings. With this approach, you will set aside time from your other Diary and make it exclusive for Pronto. For example, you may set a Wednesday afternoon for a number of people. This would then be blocked out in any other software/diaries you keep.

Fig 8 - Dedicated time
This means that you are only offering a small portion of your Diary. It could mean you get fewer bookings that you could have if you had opted for Method One. It could also mean that this time does not get utilised as Pronto does not guarantee bookings.
Updating Availability
You may wish to edit the colour this appears on the Diary to make for easier viewing. To do this click on the Settings cog (top right of the page) and select Diary followed by Availability. You will see a screen very similar to the Diary as previously shown. You may also add new availability from here in the same method as detailed previously.
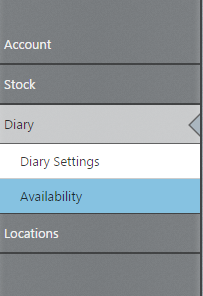
Fig 9 - Availability settings
You should see the availability created to the right. If you do not see what you expect to ensure you have selected the correct Practitioner from the top menu. To make changes to the availability simply click on the desired block. You will see options similar to that below;
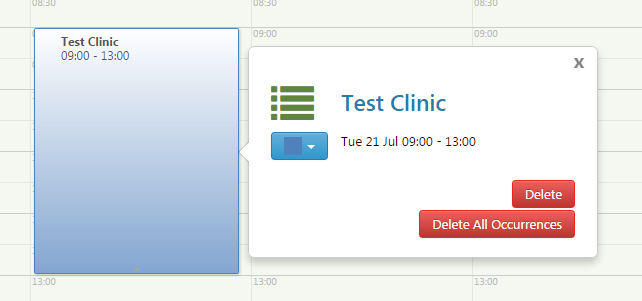
Fig 10 - Manage Session
As you can see you can Delete, which will delete the session for this week only, Delete All Occurrences, which will remove all of the sessions that cover this time frame on the same weekday. You can also change the colour to better suit your personal tastes.
You cannot edit a block instead, you would need to remove it and recreate with the updated details.