How to edit appointment reminder emails
Note
This article relates to both the TM2 and TM3 versions of the desktop software.
Open TM2 and go to Tools > TM2 Options.

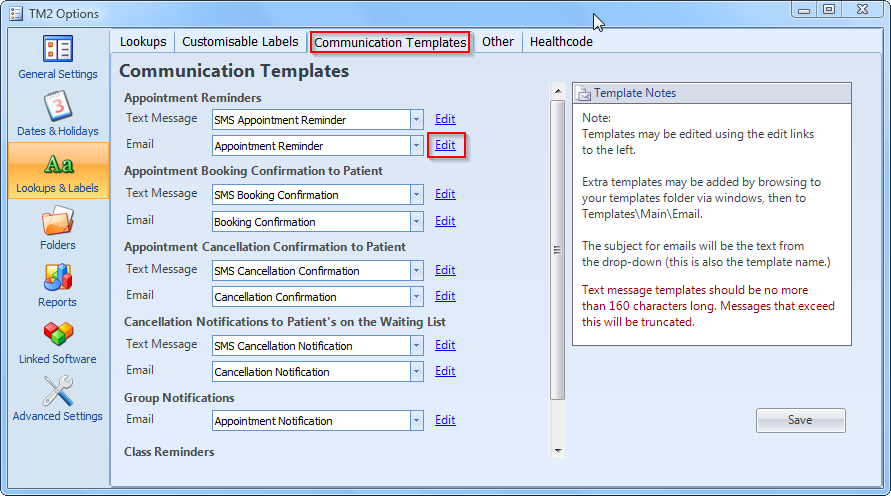
Click on the Lookups & Labels button on the left of the window and then click on the tab that says Communication Templates. Once you are in this window, you will be presented with a number of different communication options for different scenarios, such as Appointment Reminders and Appointment Booking Confirmation to Patient.
In this example, we are going to edit the e-mail communication for Appointment Reminders. Click on the blue Edit button at the right of the Email: Appointment Reminder box.
This will now open up an Email Template Editor. You will notice down the right of the screen, there are a number of prefixes with their assigned values. For example, <<P_TITLE>> will parse the title of the patient. e.g. Mr, Miss or Mrs.

Within the editor, you are free to write on the white document. Some of the e-mail in this example has already been taken care of. We will look at the first line to understand what it is doing.
Dear <<P_TITLE>> <<P_FIRSTNAME>> <<P_SURNAME>>,
<<P_TITLE>> will pull the title of the patient, <<P_FIRSTNAME>> will pull their firstname and <<P_Surname>> will pull their surname. The completed sentence.
If we were using this template to send an email to a patient called Miss Jane Doe, the output would look like the following:
Dear <<P_TITLE>> <<P_FIRSTNAME>> <<P_SURNAME>>,
Dear   Miss        Jane            Doe
You are free to edit these templates how you see fit, making use of the prefixes to the right of the screen. When you are happy with the template for your e-mail, exit out of the template maker. You will be prompted to save your work. Click on Save.