Updating the Branding (Logo & Colour Scheme)
Note
This article relates to both the TM2 and TM3 versions of the desktop software.
With the TM2 Online addon, you can customise the colour scheme and upload your own logo to apply some branding to the website. The logo is what appears in the top right section of the webpage, see below for reference.
![]()
To change these areas you need to addon the Web Bookings area from the Admin desktop in the TM2 application.
Note
Not all user levels will have access to update this, if anything appears greyed out this is down to permissions.

Once in the Web Booking area select Branding from the Patient Portal tab, see below for reference. Select the Find logo button and browse to select the desired image. You may also change the colour scheme here.
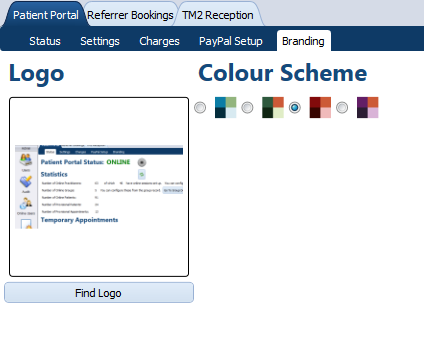
Once updated press the Save button in the top right of the page.
The next time your online page loads the new settings will have been applied.