Classes Overview
Note
This article relates to both the TM2 and TM3 versions of the desktop software.
The Classes section of TM2 is an additional module and does not come as standard on TM2. If you do wish to add this to your TM2 please contact the sales team or your account manager.
This section allows users to set up classes within TM2, they can be one-off or a number of classes in succession.
The Search function has a number of options available. Users can search a range of dates and then choose which location they want to search at. When Clear is clicked all selections will be removed from the search options.

The next part to the Classes section is how to sort locations. Users can sort classes in different ways. One of which is to Drag a column header to the blue area to sort the records. Column headers are such things as Name, Start Date etc.

Using this method a user can add more than one search parameter. The example above is sorting the classes by Start Date. This will group the location by name of the clinic. To remove this search drag and drop the selections anywhere below the blue space.
Another way of sorting Classes is by clicking on the column header. This will sort Classes into ascending order on the first click and descending order on the next click. Using this method you can only sort one column at a time, where in the first one you could sort multiple columns. A user can tell what column(s) are being sorted by the arrow on the column header. When it is an up arrow it is sorted in ascending order and down signifies a descending order sort.
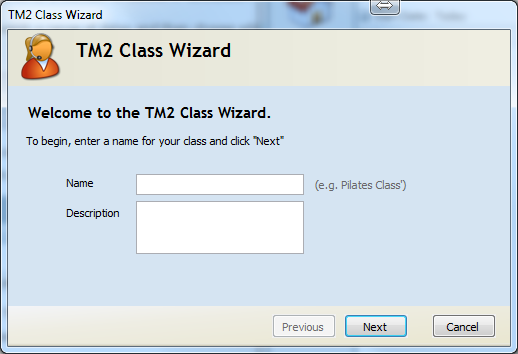
Right clicking on the Classes section and clicking the New button will open the TM2 Class Wizard.
Step 1: Enter the name of the class, this is compulsory. Description is optional
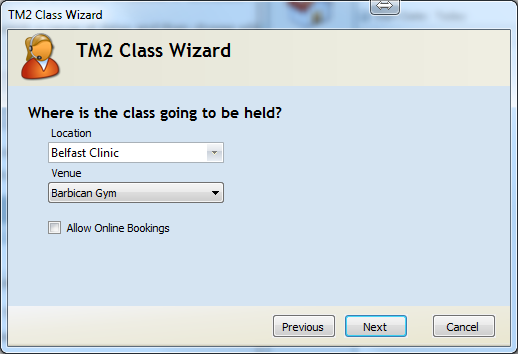
Step 2: Choose the location and venue, both compulsory. Users can then decide if this class is available online.
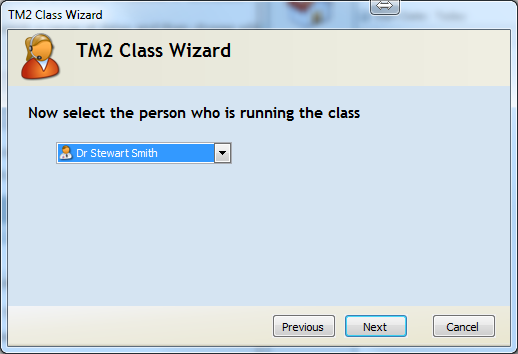
Step 3: Choose the practitioner who is running the class
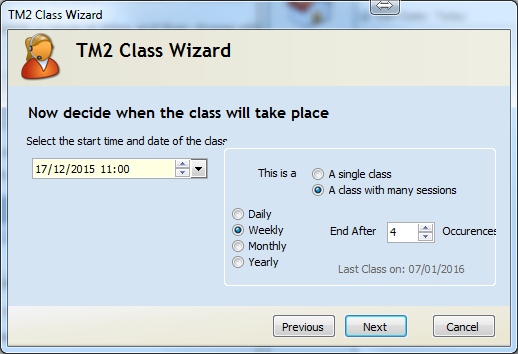
Step 4: Choose the start date and time. Users can also choose if the class will be a single or multiple session. If A single class is selected the Wizard will send the user to Step 5. If A class with many sessions is selected users must choose if it is a daily, weekly, monthly or yearly class; after this the user will move on to Step 4.1.
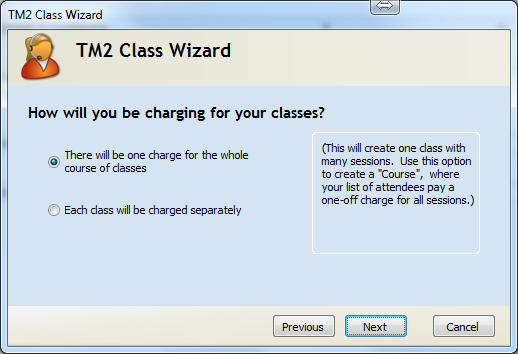
Step 4.1: Choose if there will be a one-off charge or each class charged separately. The two options are explained below (one in the below window and the other below that.
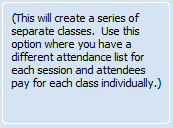
When the Each class will be charged separately option has selected the settings for the class is explained here
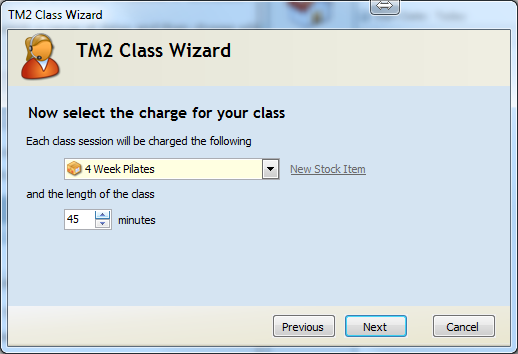
Step 5: Choose the appropriate stock item and length. A new stock item can be created here if there isn't already one set up for that class.
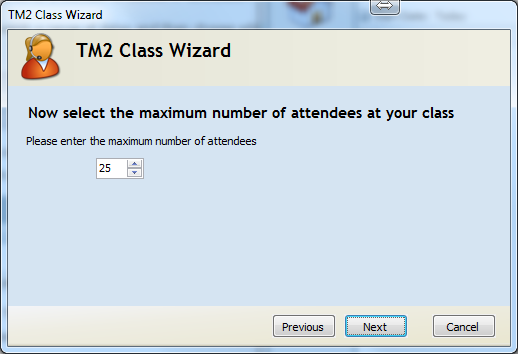
Step 6: Select the maximum number of attendees
Step 7: Choose if the class manager should be opened and then finish
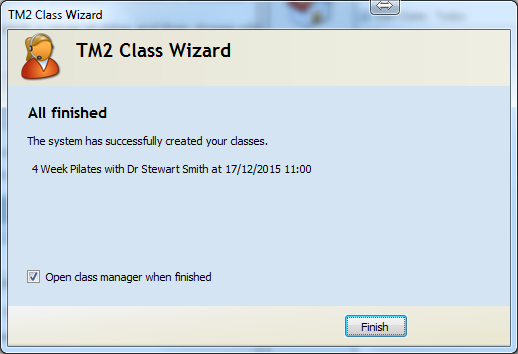
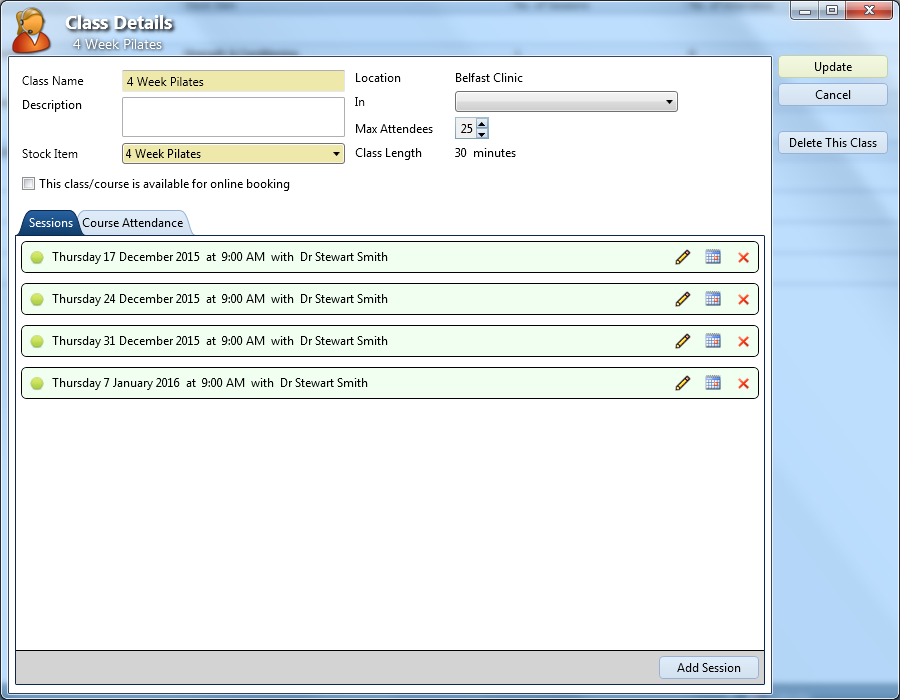
When the class has been set up the Class Manager window will appear as below. This can also be opened from the Classes section. If something was wrong in the creation of the task the details can be edited here. Use the Update button to save the changes.
When the pencil icon is clicked it allows users to edit the class attendees and the following window appears. From here click the Add Attendee button, search for what patients are attending the class and add them in.
When a patient is added in users can choose to bill the patient immediately or add it to an invoice. If the patients are not billed they will how as not paid on the Class Register, like John and David.
Clicking on the green tick in the Class Register will show a patient as attended or not attended. Clicking the icon beside the Paid column will take the user to the patient record.
Click the Pay button to add payment for that patient.
Click the Red X to remove the patient from the register.
Clicking the Add Session button will allow users to add another class into the Diary.
Clicking Print will print the attendee list.

If a patient joins a practice and wants to attend this class but joins halfway through; a discount should be applied to the billing item associated with the class. This video tells you how to add a discount.