How to Create and Use Multi Stock Items
Note
This article relates to both the TM2 and TM3 versions of the desktop software.
A scenario you might encounter is if a patient wishes to buy a package of treatments. These treatment packages are configured in the 'Stock' section of TM2 and are known as "Multi Stock Items". Multiple stock items allow you to add many items under a single stock item. They can be used for treatment series and special offers, such as discounts on buying a number of treatments up front.
Below you will find both a full guide on how to set these up, and a short video.
How to create multi-stock
On the stock form, you must select the 'Multiple Stock' option
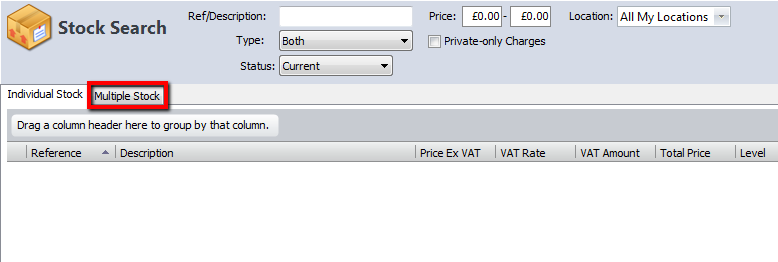
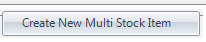
You will then be able to select in the right-hand corner
Use the drop-down box on the 'Multiple Stock Items' window that opens and select the 'Stock Item' you require.
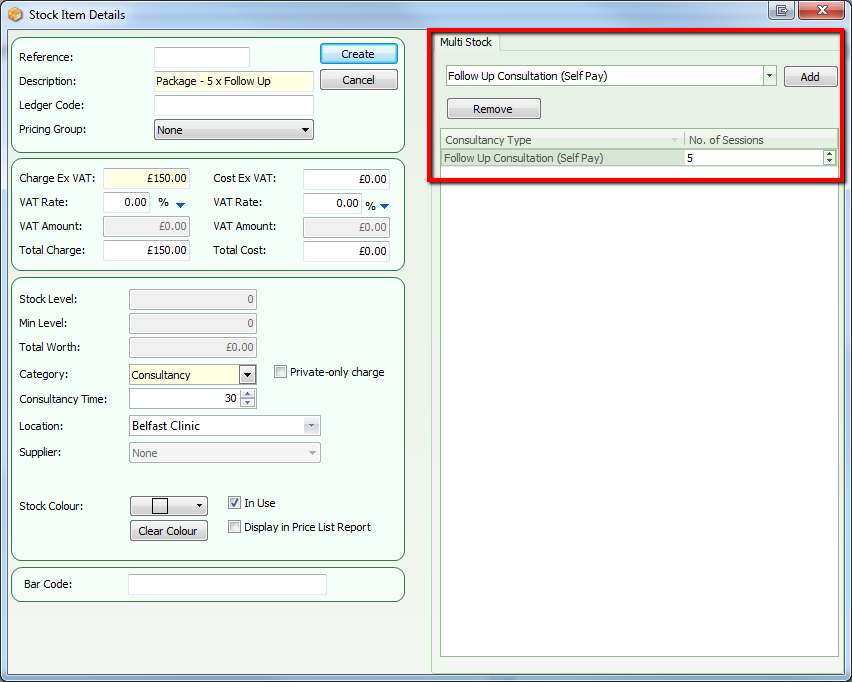
Remember to press the 'Add' button to add the stock item.
How to use Multi Stock items for appointments
The first step to charge for a package of treatments is to open the patient record and click "Create Billing Item".
Select the option to "Add New Item" and select the multi-stock item you wish to charge for.
Select a quick pay option from the menu to complete the process.
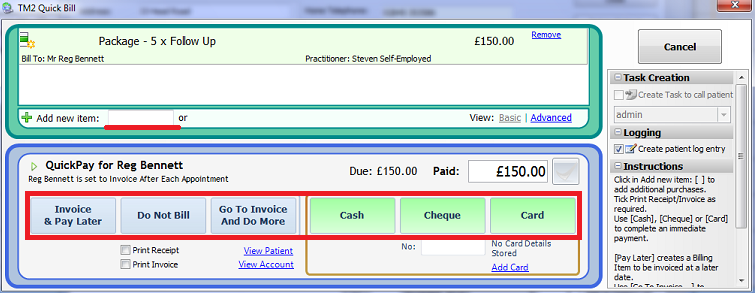
When the TM2 Quick Bill stage is finished you can see the "Multi Stock Items" are added to the account as an overall package cost rather than a cost per individual pre-paid item.
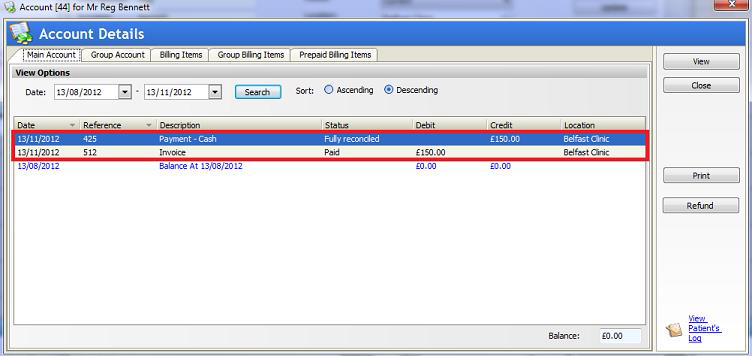
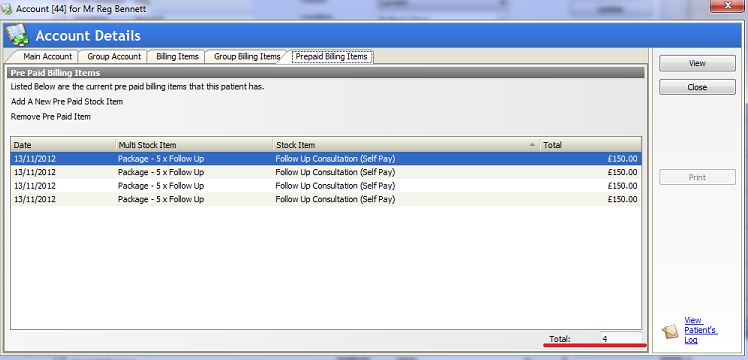
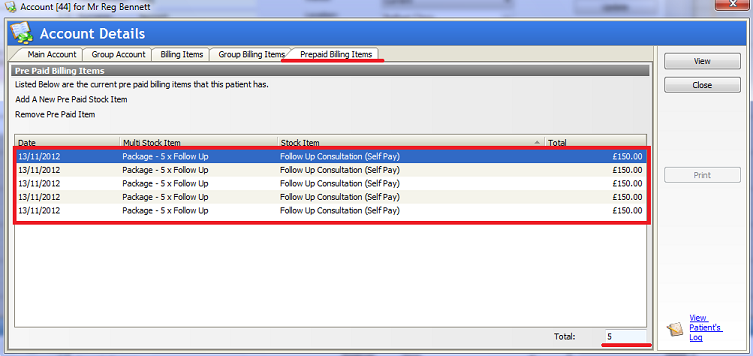
You can go to the patient's account and click the "Prepaid Billing Items" tab to view the prepaid items added to the patients account after purchasing the multi-stock package.
If a patient has a prepaid account, when they are making a booking it will display these items in the stock list in dark blue with [PrePaid] in brackets. If the patient wishes to use a prepaid item, ensure you select this from the drop-down menu.

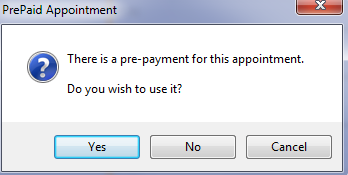
When the patient comes in for their pre-paid treatment, you will need to mark the appointment as completed as normal. However, if the appointment is linked to a pre-paid item on their account it will prompt you to use a pre-paid item when completing rather than taking you to the TM2 Quick Bill screen. Select the "Yes" option to use the item.
The impact of this is that it will use 1 of the prepaid items on their account. You can check the total prepaid items remaining at any time by accessing the patients record, clicking view account and then the "Prepaid Billing Items".