Pronto Portal Settings
![]()
Note
This article relates to both the TM2 and TM3 versions of the desktop software.
Before you receive bookings there are a few things that need to be completed within Pronto Portal.
These settings ensure your availability, appointment durations and prices are correct and thus are very important.
After you have registered you will be greeted with the screen below;
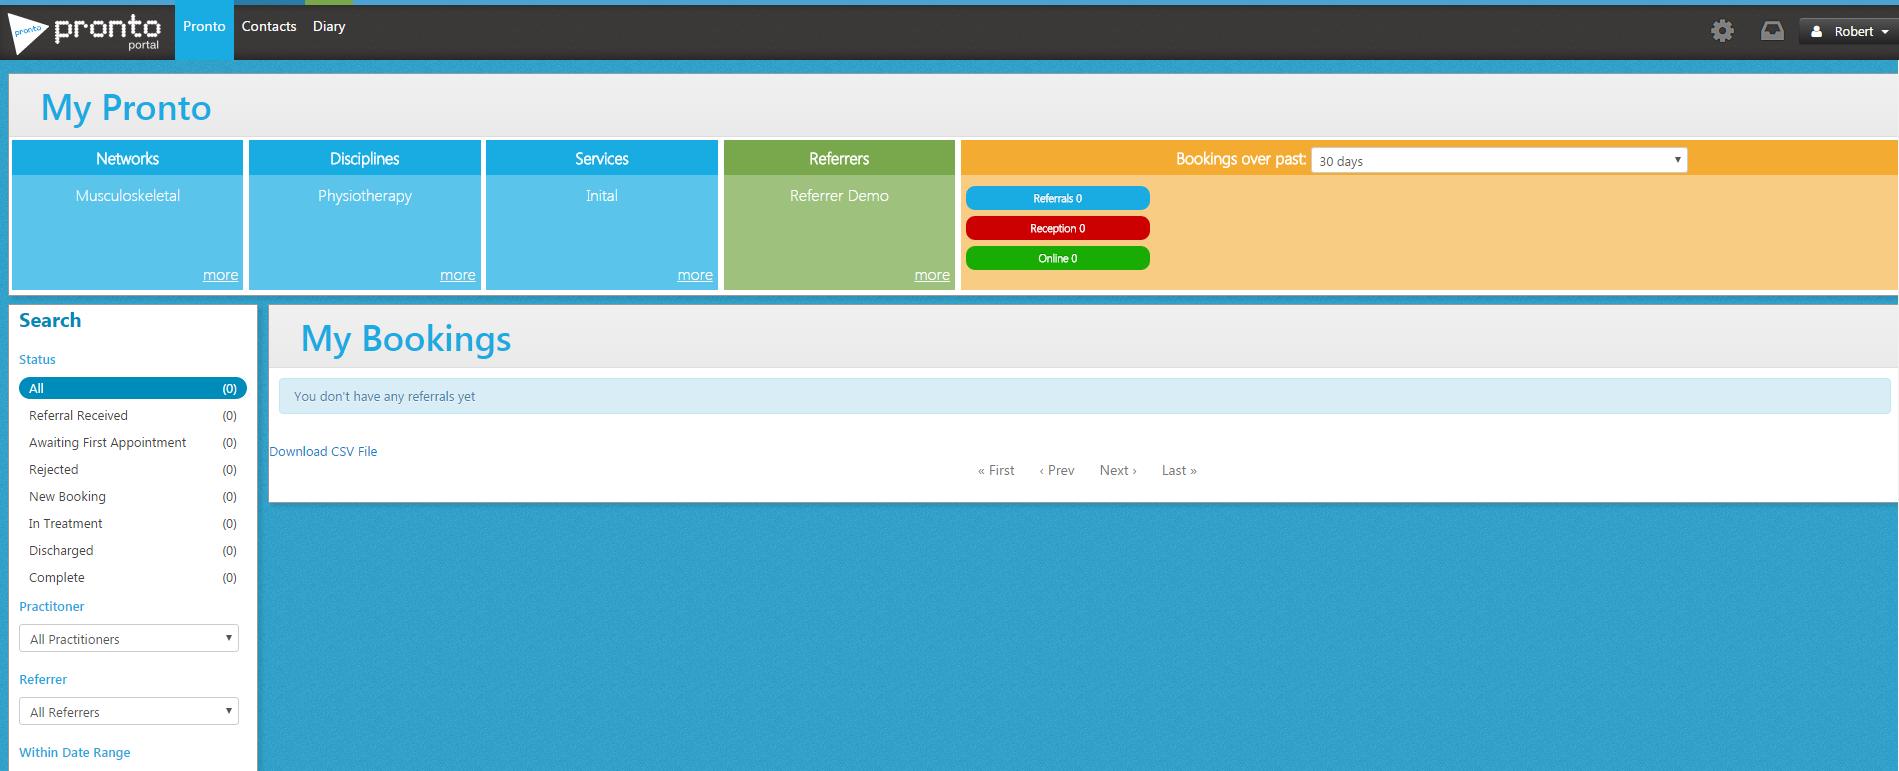
Networks, Disciplines & Services
These sections all show the same information, this where you can view the Network(s) you are part of and set the Services you wish to offer. This should already be completed as its part of the registration process. If you wish to join additional Networks you will need to contract the Pronto Helpdesk.
The current list of Networks and their resulting Services can be found by clicking here.
Referrers
This area is where you can see the Referrers you are providing Services and at which stage of the setup this process is. To explain, when you register as a provider for a referrer we (Pronto Team) need to verify your relationship with that party and ensure you are registered to provide the services as per any contract agreements. In cases where there is no existing relationship, we will advise on how this process can be started. To give an example;

You can see that we are signed up to provide Services to TM2/TM3 Referrer (Test), the status is "In Progress" and "We will contract you once everything is set-up". At this point the Referrer (TM2/TM3 Referrer (Test) WILL NOT be able to send any appointments to your Diary. You can always make contact with the Pronto Helpdesk if you wish a more detailed explanation of exactly how the set-up is progressing.
At this point, you can (and is recommended) apply some additional information/settings for the Referrer via the Settings tab. You will see a screen similar to that below;
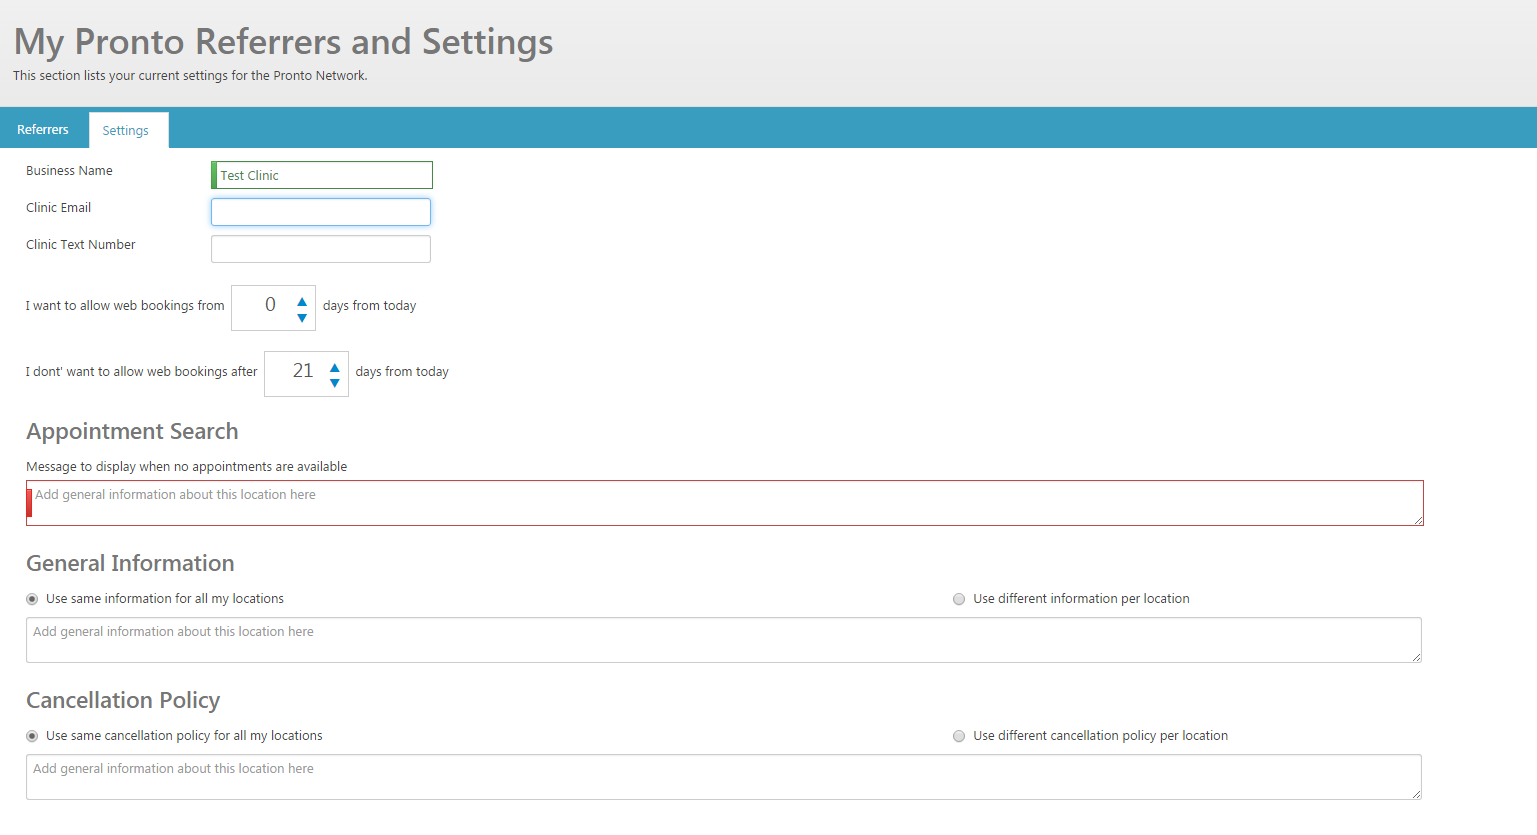
Business Name - Self-explanatory, this would be the name of your business that the Referrer will see. This is useful if you trade under a different name.
I want to allow web bookings from N days from today - This is the minimum time you want to accept bookings from. If set to 0 an appointment could come in on the current day, if set to 1 the earliest an appointment can be made is 24hours from now, if set to 2 the earliest an appointment could be made would be 48hours from now etc
I don't want to allow web bookings after N days from today - This sets the maximum days in the future the referrer can book. The default setting of 21 days means they (the referrer) could not book an appointment on a date that is greater than 3 weeks from the current date.
All of the options below can be adjusted on a per location basis, simply select the "Use different .... per location" radio button and the fields will change.
Appointment Search - Allows you to specify a custom message in the event that no appointments show as available. This could be as simple as "Please call the clinic". Not all referrers will be interested in this information and so some may choose not to have it appear on their own interfaces. This means that while you provide it, the referrer may not see it.
General Information - This could be letting the client know of any confusing directions, "Clinic door on the right of the building..." etc. Not all referrers will be interested in this information and so some may choose not to have it appear on their own interfaces. This means that while you provide it, the referrer may not see it.
Cancellation Policy - This would outline your policy for patients who cancel the appointment, for example, "24 Hour's notice required". Not all referrers will be interested in this information and so some may choose not to have it appear on their own interfaces. This means that while you provide it, the referrer may not see it.
When the Referrer setup has been complete the interface will look as follows;

As you can see you may now adjust the Locations and Practitioners that you wish to offer availability for. Click on the Edit option and tick/untick as needed. These values are drawn from the Pronto Portal settings. See below for how to add new Locations and Practitioners.
Adding a new Location
To maximize your booking potential it's important that all of the locations you offer treatment(s) from are listed in Pronto Portal. You can omit locations that you do not wish bookings to appear for.
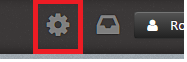
Adding a new location is done via the "Settings" cog in the top right of the page;
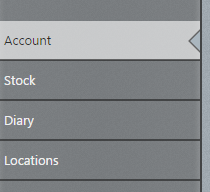
Once in this section, you will notice "Locations" on the left, select this section;
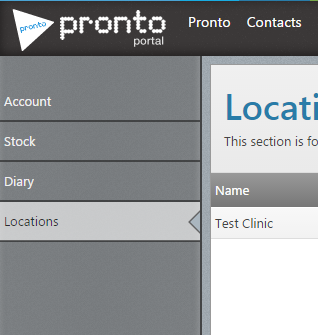
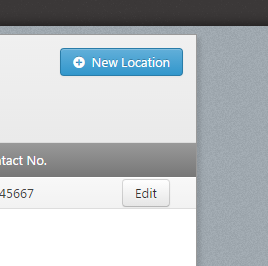
There will now be a New Location button in the top right area of the page, select this;
You will be prompted to enter the relevant details about this Location, complete this and press the Create button.
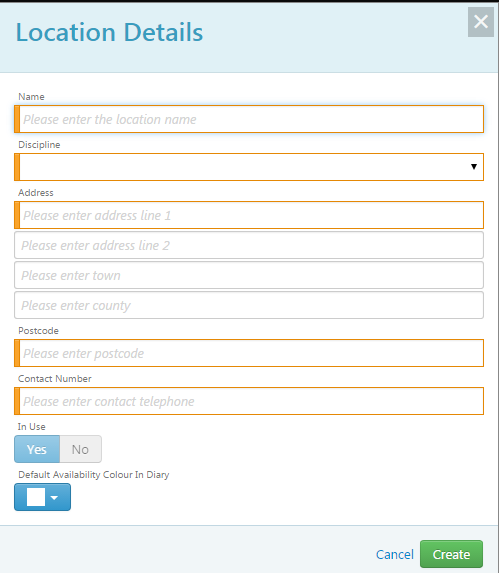
The new Location will now appear when adding Availability.
Adding a new Practitioner
To add a new Practitioner (and user) to Pronto Portal select the "Settings" cog at the top right of the page;
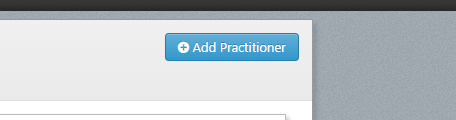
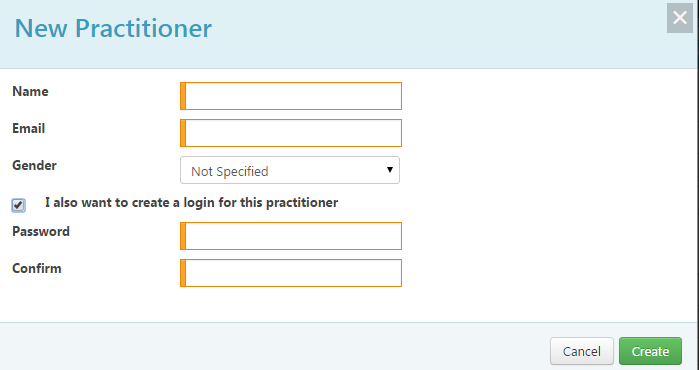
On the Account area you will have an Add Practitioner button to the right side of the page, select this;
You will then be prompted to complete the details of this individual. There is also the choice to create an additional login for this user so they can view the Pronto Portal Diary.
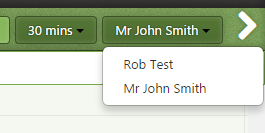
Once created you can switch between these users on the Diary;
Adding Availability
In order for Referrers to provide appointments, you need to offer availability, the hours you provide treatments. To add new availability simply open the Diary and ensure you have selected the correct Practitioner;
Once on the correct Practitioner to add availability simply click the mouse at the beginning of this session and while holding it down drag the cursor to the end. See below for an example;
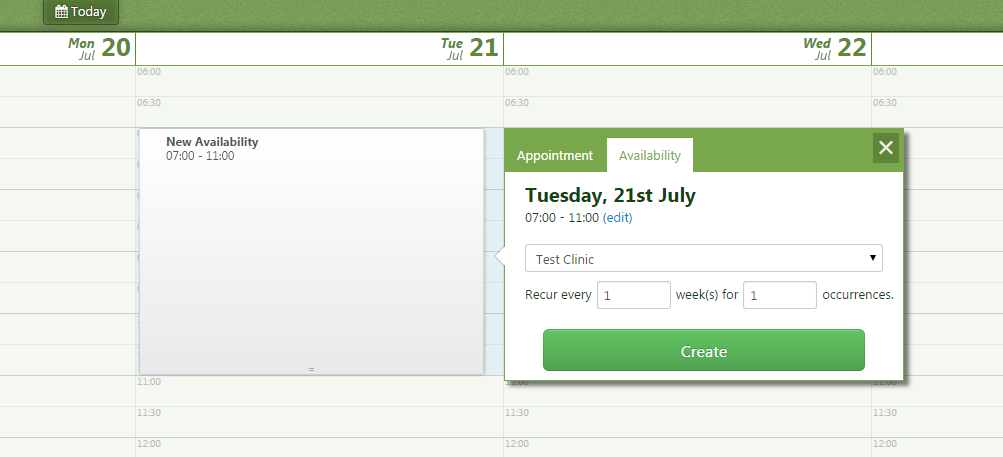
Here the Availability is being set as 7am until 11am on each Tuesday at the Test Clinic Location. You can adjust as needed. You will need to build the availability around breaks, so you may wish to allow for a lunch break, see below for that example;
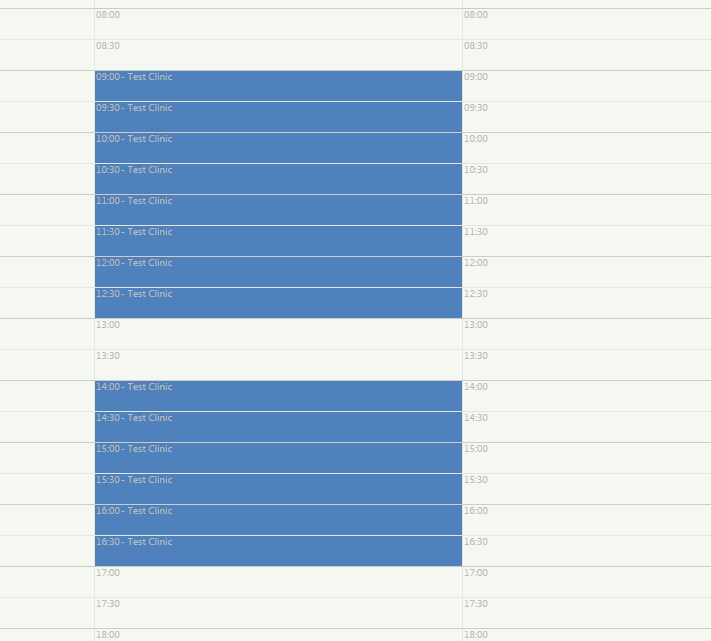
Repeat the steps above to set all of your availability and breaks for each Practitioner at each Location. Having this correct ensures maximum potential for bookings.
Updating Availability
You may wish to edit the colour this appears on the Diary to make for easier viewing. To do this click on the Settings cog (top right of the page) and select Diary followed by Availability. You will see a screen very similar to the Diary as previously shown. You may also add new availability from here in the same method as detailed previously.

You should see the availability created to the right. If you do not see what you expect to ensure you have selected the correct Practitioner from the top menu. To make changes to the availability simply click on the desired block. You will see options similar to that below;
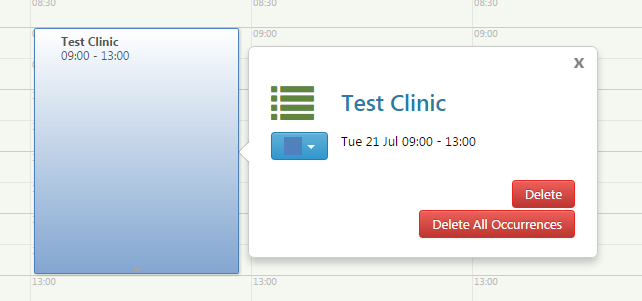
As you can see you can Delete, which will delete the session for this week only, Delete All Occurrences, which will remove all of the sessions that cover this time frame on the same weekday. You can also change the colour to better suit your personal tastes.
You cannot edit a block, instead, you would need to remove it and recreate with the updated details.
Offering more Services
Within each Network, there are a number of Disciplines and within each Discipline, there are a number of services. All of these are detailed at networks. You have the control over which Disciplines and Services you wish to offer on that Network. For example, under the MSK Network, you may wish to only offer Initial Assessment and Follow Up Treatment for Physiotherapy.
You should have enabled your services during the registration process but if you wish to make changes or add to these then the steps to do this are as follows;
Under the Pronto (top of the screen) area you will see a screen similar to the one below;
Selecting the Services area will display the area below;

The example above shows that only Initial Physiotherapy Assessments are being offered. If Follow Up Treatments were also desired to simply move the slider over to the right position and you will be guided through this. The next screen you see will the one below;
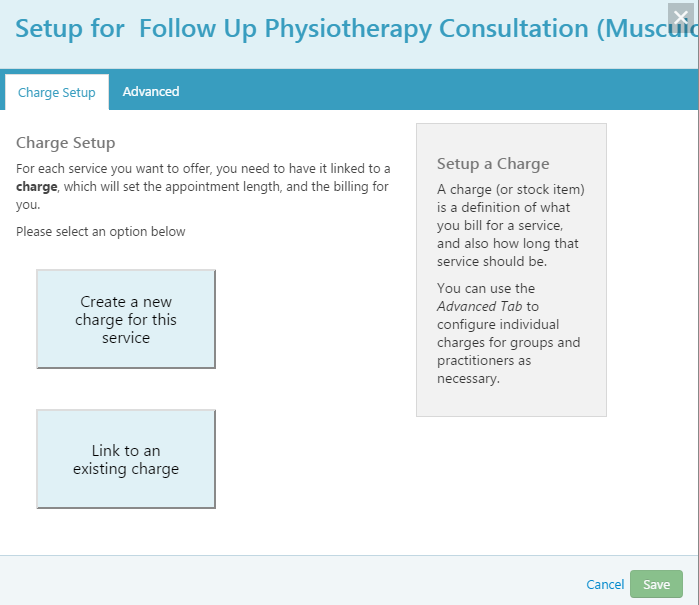
If you adding this Service for the first time you will likely need to Create a new charge for this service. If already have the charge you wish to use created (same cost and duration as another service) you can select Link to an existing charge.
To see a list of existing charges select the Setting cog (top right of the screen) and select the Stock area.
Selecting Create a new charge for this service you will be prompted for some information, see below for this;
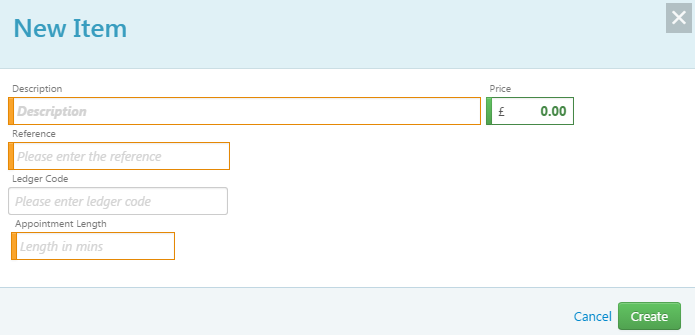
Enter the details as needed. If you have similar items it is advisable to use identifiable Descriptions or References. The Referrer WILL NOT see what you have written here, they will see the Service Name. For example, you may have Initial Appointment BUPA, Initial Appointment AXA etc.
Once the details have been entered select the Create button.
You should be able to see this new offering on the Services interface;

Once you are at this stage the following will be true;
- The charge selected will be applied to all of your Locations
- The charge selected will be set for all of your Practitioners
- The charge selected will be set for all of your Providers (within the MSK Network).
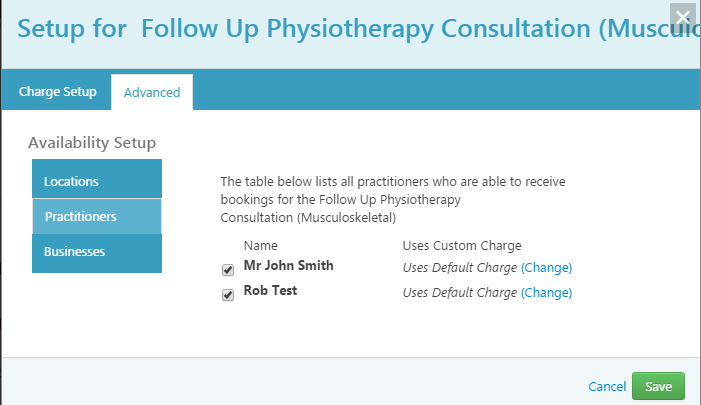
If you need to adjust any of the above we need to make these changes via the Advanced tab. Once selected you will see the image below;
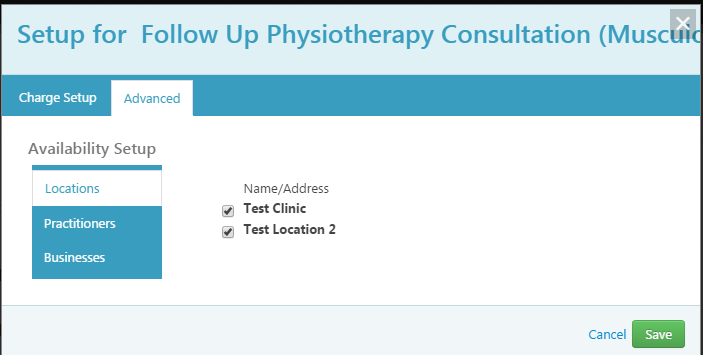
Locations - You can Select / Deselect locations as needed. If a location is enabled here but NOT enabled for that specific provider it will not appear for selection. For example, if you have a charge set for all of your locations but don't accept BUPA appointments at one site, if you set this on the record for BUPA's settings, they take priority over the details here. More on how to adjust specific referrer details later.
Practitioners - You can Select / Deselect practitioners as you can for the locations but you can also change the stock these individuals are set to offer. For example, one Practitioner is £40 for initial appointments and another Practitioner may charge £45 for the same appointment. An example of this is shown below, pressing the Change option allows you to select another stock item or create a new one if needed.
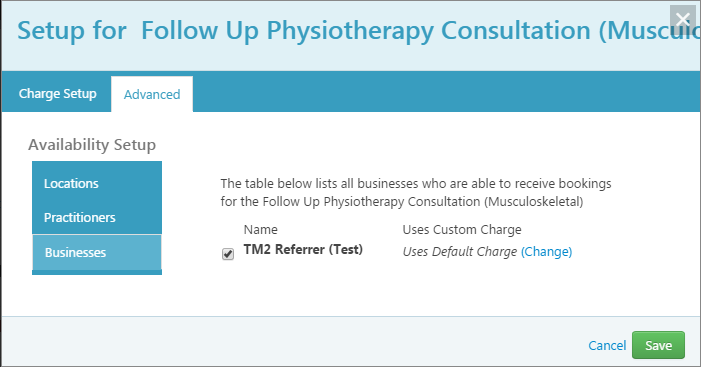
Businesses - The same can be set for Referrers as it can be for Practitioners. Select / Deselect as needed and adjust the charges (from standard) as desired.
Once you have made the changes its important to press the Save button. This could be quite far down the page depending on the number of items shown, the button will be lower on the page if you had 20 practitioners as opposed to 5.
Repeat this for each exception to the default charges.