Cases Overview
Note
This article relates to both the TM2 and TM3 versions of the desktop software
The Cases section of TM2 shows all information on cases for patients and allows them to be edited from this section. Like most sections in TM2 there is a search bar where users can search for cases.

When a search is performed the list will appear as below. The Drag a column header... option is available here, like most searches in TM2. This will group the records by whatever column name is selected.
Depending on the user's access some cases may not appear in the search. If a practitioner searches in this section they can only see their own cases.

When you right-click on a record within the Cases section, the following options appear.

When Edit Case is clicked the corresponding case can be edited. If the case has previously been closed, the case cannot be edited further. Only the TM2 Support Team can unlock cases, this request must be made by the account holder as it is an alteration within the database.
Clicking the Go to Patient option will open up the selected patient's record.
When hovering over the Patient Menu option a number of new options will become available.
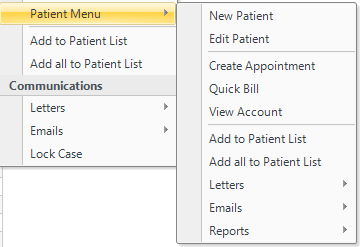
These are quick links to manipulate the information within the patient section from here.
New Patient will allow the user to create a new patient.
Edit Patient will allow the user to edit the selected patient's record.
Create Appointment will create a new appointment for the selected patient.
Quick Bill will allow users to add a billing item for the selected patient.
View Account allows users to view the patient account. This includes all their billing items to date and the balance they owe.
Add to Patient List will add the selected user to the patient list. Selecting the Add all... option will add all users from the search to the patient list.
The Letters, Emails & Reports sections will allow users to send different communications to all patients and run small reports on selected patients such as patient appointments.
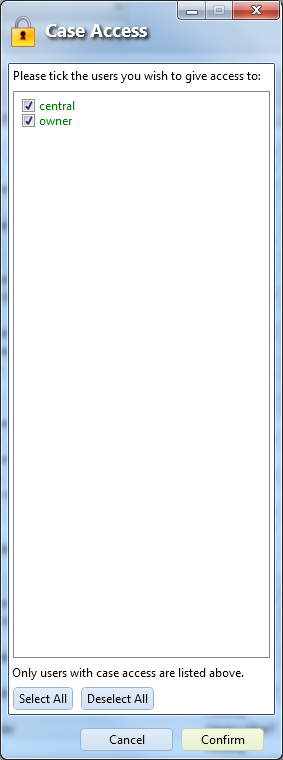
The Lock Case option will allow certain users to lock selected cases. When a case is locked the following menu appears. From here the user who locks the case can restrict certain users from accessing it by using the tick boxes.