Class with Multiple Sessions
Note
This article relates to both the TM2 and TM3 versions of the desktop software.
When creating a Class you select the whether this is a single class or a class with multiple sessions.
To create a class with multiple sessions select "A class with multiple sessions", you will then be able to choose when the class reoccurs.
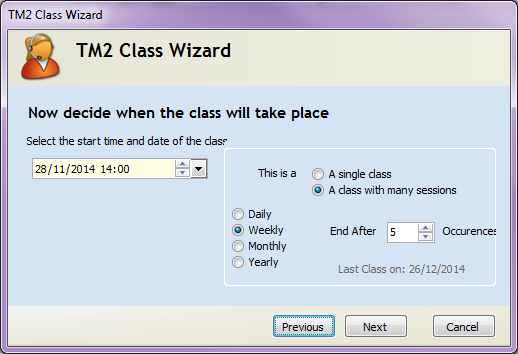
Click Next
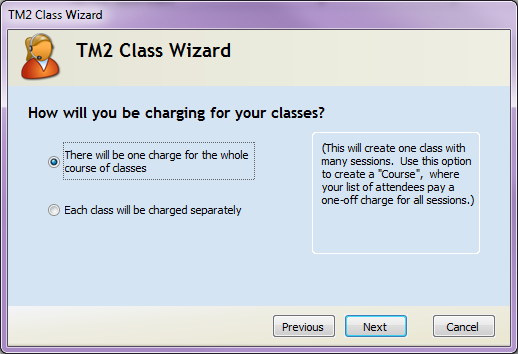
The next stage gives you the opportunity to select if the course is charged as a whole or separately. If charged as a whole a stock item will need to be created to reflect the charge of multiple classes.
If separate you will need to create a stock item to reflect the price of one class
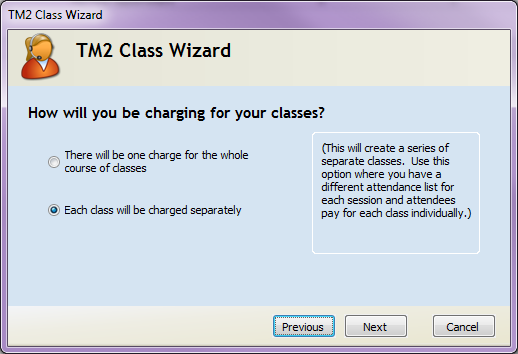
Click Next
Within class manager a class with multiple sessions (Course) will create a Course attendance tab.

This is where you add all the attendees for each class.
Example
I have added 2 attendees for this course.

If you check the sessions, through the Sessions tab and click View/Mark Attendee you can see both these patients appear in the list.
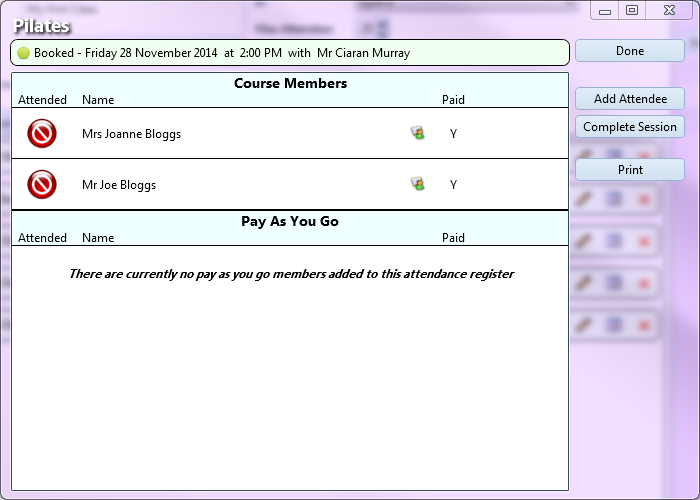
By clicking the Attended symbol beside their name will either mark them attended of DNA.

There is also the option to add "Pay As You Go" attendee. So if a patient just wants to go to one session you can add an additional Attendee within the session by clicking on Add Attendee.
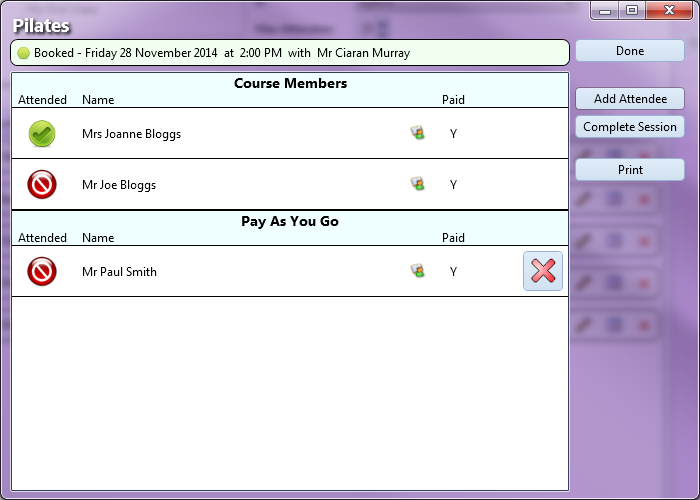
You can then take payment at time of booking or take payment before the class. Then to complete the class click on "Done"