Practitioner Overview
Note
This article relates to both the TM2 and TM3 versions of the desktop software
Note
TM2/TM3 does not allow users to delete practitioners.
The Practitioner section of TM2/TM3 shows all information on practitioners and allows the practitioner details to be edited. Like most sections, there is a search bar where users can search for practitioners.

When a search is performed the list will appear as below. The Drag a column header... option is available here, like most searches in TM2/TM3. This will group the records by whatever column name is selected.
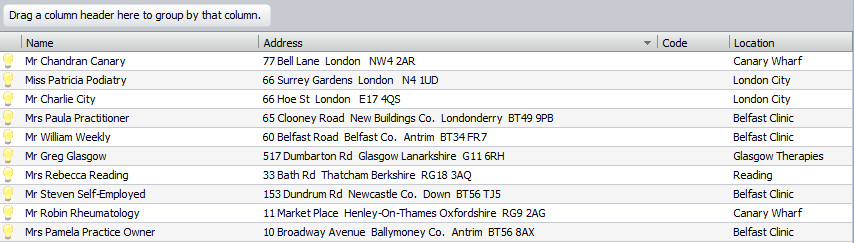
The light bulb beside each practitioner shows their Status. A practitioner's status can be set as Current and Non-current.
When the status is Current the light bulb will be 'on'. When it is Non-current the light bulb will be 'off'.
Current practitioners would be practitioners that are working in the clinic and have permission from the system administrator, with their clinic's PIN code and client ID.
Non-current practitioners would be set when a practitioner has left the practice.
You can only make the practitioner Current or Non-Current you are unable to delete them. The reason for this is that if something were to be deleted, it may cause issues within the database for any linked cases, payments - historic or current and any other linked accounts.
Right-clicking anywhere on the practitioner section will give users two options; New and Edit.
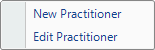
The New and Edit windows are fairly similar but each has a different impact in TM2.
From here the practitioner details can be entered. The two yellow boxes, Forename and Surname are required fields to set up a new practitioner. The other details can be set up later. Two important parts of this section are the In Use and Allow Online Bookings tick boxes. The In Use box will set the practitioner as current/non-current depending on the selection. If the practitioner is current the tick box should be active. The same rule applies to the Allow Online Bookings tick box.
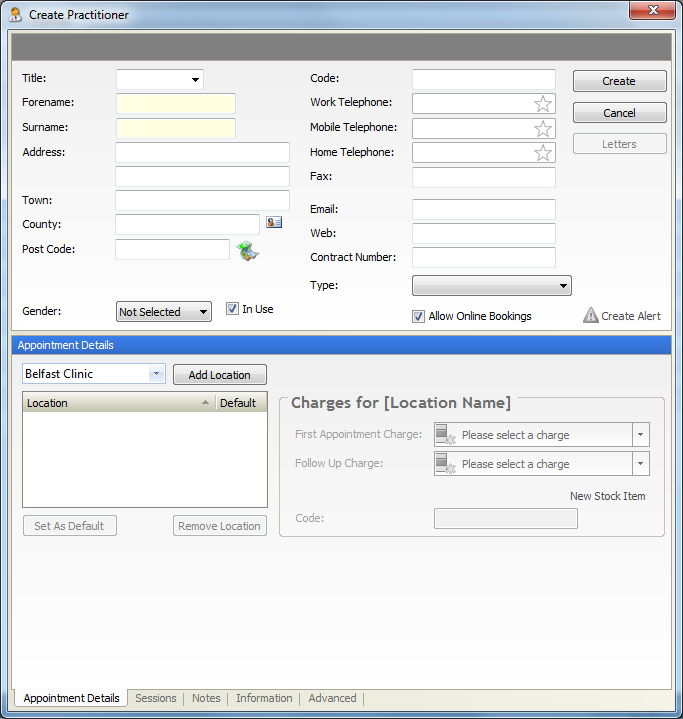
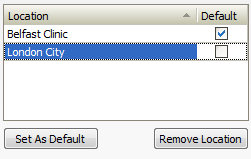
Notice that some of the options in this window are greyed out. These will become active whenever a location is added for the practitioner. This can be done by selecting the appropriate location and clicking the Add Location button.
When a location is added some other options become available. These are the Set as Default and Remove Location buttons. If a practitioner works in more than one location they need to specify a default location. To do this choose the location and press the Select as Default button. Choose a location and press the Remove Location button.
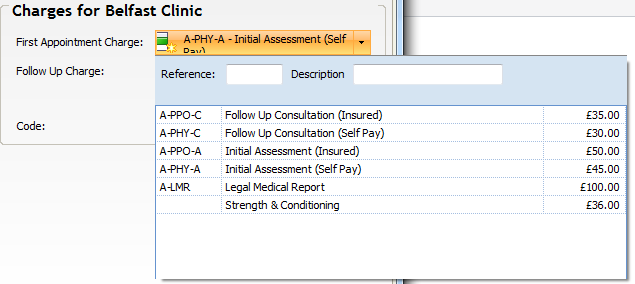
The charges for this practitioner will then be set for this location. The First & Follow Up charge will be applied here. These are set up as stock items, which should already be set up by now.
A new stock item can be added from this point also.
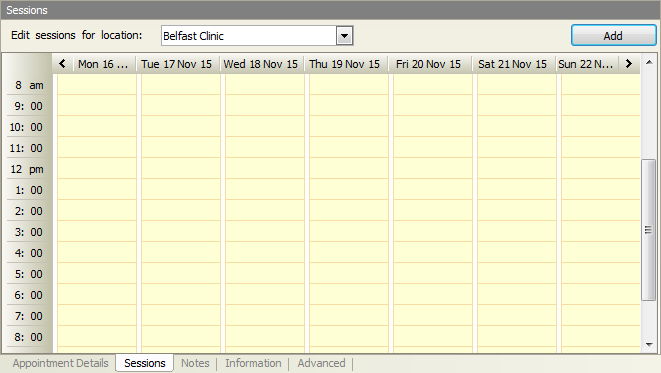
The second tab on the Practitioner view is the Session tab. You can add/edit user sessions here. To add a new session click the Add button or double-click on calendar.
When Add is clicked the window below will appear. Choosing a day and time frame will add a practitioner session. The sessions can be set up whatever way you like, for instance, every two hours can be selected with a break of an hour in between if those are the hours the practitioner works. Ticking the Session Available Online button will allow this session to be booked from your online booking system (if you are set up for online).
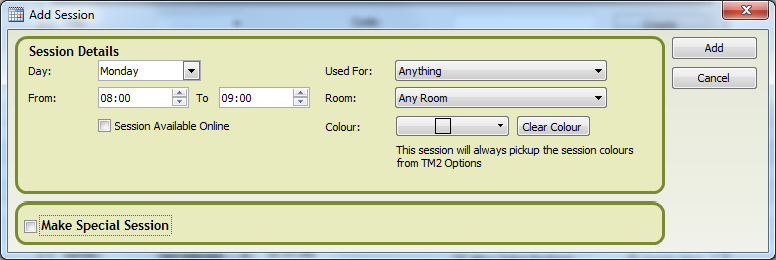
The Used For, Room & Colour drop downs can be selected here but are not essential.
Special Sessions are set up if the practitioner has an availability slot outside of their normal working hours. These can be set up in different occurrence patterns.
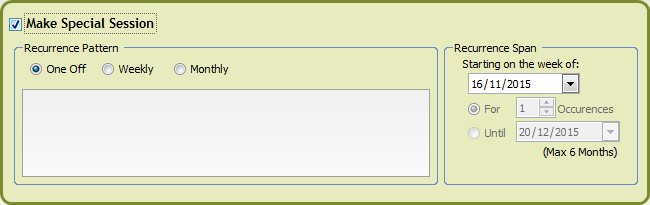
They can be One Off, Weekly or Monthly. These will appear as a different colour in the Sessions tab and Diary. When selecting a One Off Special Session TM2 will add the session to the day that is selected in the top half of the window. This cannot be selected for any number of occurrences as it is a one off.
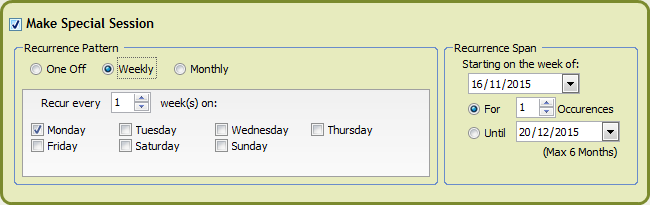
The Weekly Special Sessions open up different options to book the appointments. You can select to add it for multiple days and set a number of occurrences up to 6 months.
If you want to select a special session for every other week change the Recur every _ week(s) option to every 2 weeks etc.
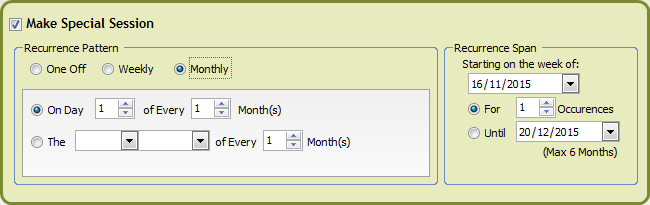
The Monthly Special Sessions has two different options:
- To book a certain day of a set number of months
- To book the first, second, third, fourth or last day of a set number of months
When a special session is added it will appear in red in the sessions tab and a different colour of your choice in the diary.

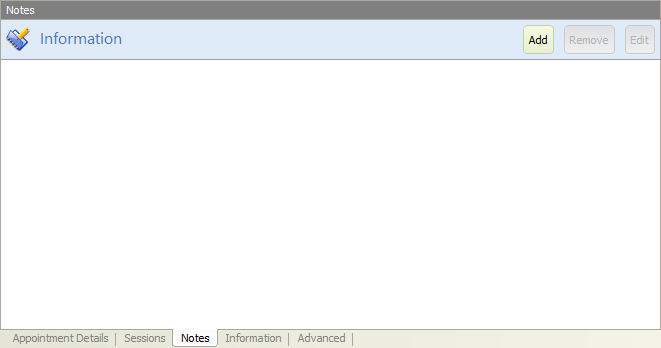
The Notes tab will allow you to add notes for practitioners. Notes have been explained in this section (add link when live) of the Knowledge Base and follow the same steps as before.
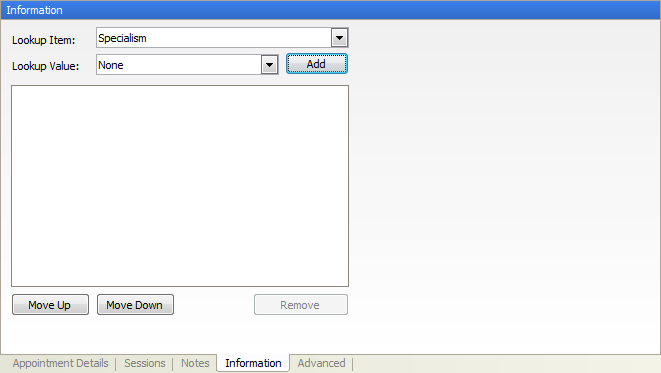
The Information tab will add different lookup items. These lookups can be added in TM2 Touch Admin.
The Advanced tab finishes the options for the Practitioner section.
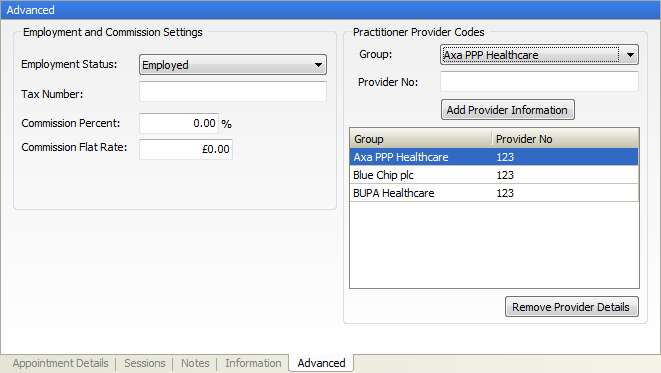
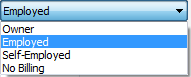
The Employment Status will be different for every user. The options are shown below.
The Commission settings for each practitioner can be added here, percentage or a flat rate can be added by populating the corresponding box.
The Practitioner Provider Codes should already be known here and can be input as needed. The groups should be set up previously.